How to Screenshot on Chromebook: Easy Methods & Troubleshooting Tips
Taking screenshots on a Chromebook can be incredibly useful, whether you’re saving important information, sharing a funny meme, or capturing a screen for a work project. With its simple design and ease of use, Chromebook offers various methods to take screenshots, all of which are efficient and quick. No matter if you’re a student, working professional, or just someone using a Chromebook every day, knowing how to take a screenshot will make your life easier.
From keyboard shortcuts to stylus tools and apps, we’ve got you covered! Let’s learn together.
Methods to Take Screenshots on a Chromebook
Method 1: Using Keyboard Shortcuts
Chromebooks come with built-in keyboard shortcuts that make screenshotting a breeze. Here are the key methods:
-
Full-Screen Screenshot: Press Ctrl + Show Windows (F5). This will capture your entire screen.

-
Partial Screenshot: Press Ctrl + Shift + Show Windows. This lets you select a specific area of the screen to capture.
-
Window Screenshot: Press Ctrl + Alt + Show Windows. This allows you to capture only one active window, instead of the whole screen.
These shortcuts are not only fast but incredibly easy to use, giving you the freedom to capture exactly what you need without any hassle.
Method 2: Using the Stylus (For Stylus-Compatible Chromebooks)
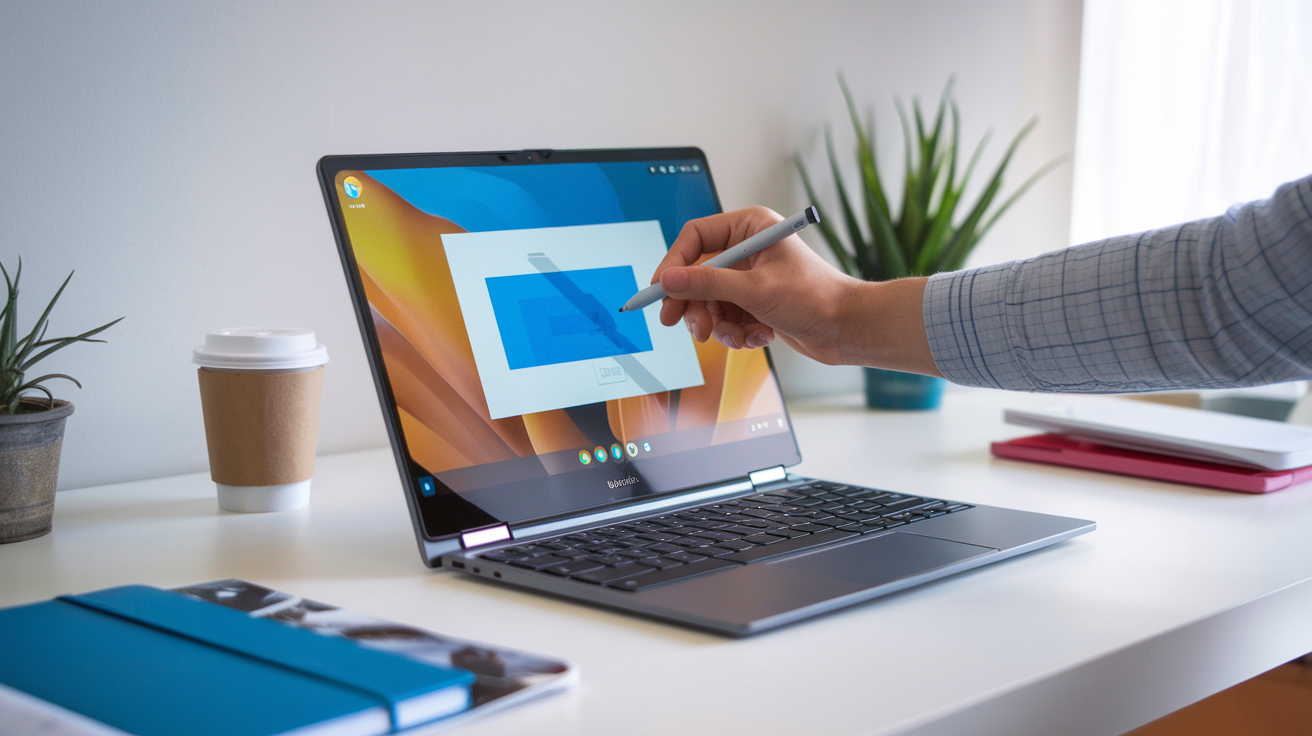
If you’re using a Chromebook that comes with a stylus (like the Chromebook Pixelbook or others), you can take screenshots by simply holding down the stylus button and selecting the area you want to capture. This method is especially useful for those who want precision or need to annotate their screenshots quickly.

Method 3: Using Chrome Extensions or Apps
If you prefer more advanced options, there are plenty of screenshot apps and extensions available through the Chrome Web Store. Extensions like Lightshot or Awesome Screenshot provide extra features like editing tools and easy sharing options.

To get started:
-
Open the Chrome Web Store.
-
Search for “screenshot” and choose an extension that fits your needs.
-
Follow the on-screen instructions to install and start capturing.
Where Are Screenshots Saved on a Chromebook?
By default, screenshots taken on a Chromebook are saved in the Downloads folder. To find them:
-
Open the Files app.
-
Navigate to the Downloads folder, and your screenshots will be there.
You can always move screenshots to different folders if you prefer to keep them organized.
Screen Recording on Chromebook
If you want to capture a video of your Chromebook’s screen instead of a still image, screen recording is the way to go. This is perfect for creating tutorials, recording gameplay, or sharing technical support issues.
Here’s how to record your screen on a Chromebook:
-
Open the Quick Settings Menu:
-
Click on the clock in the lower-right corner of your Chromebook screen to open the Quick Settings menu.
-
-
Select “Screen Capture”:
-
You’ll see a “Screen Capture” option in the menu. Click on it, and a new window will pop up, offering options for both screenshots and screen recording.
-
-
Choose the “Record” Option:
-
In the screen capture tool, select the Record icon (it looks like a circle within a square).
-
You’ll have the option to record the entire screen, a specific window, or a selected area of your screen.
-
-
Start Recording:
-
Once you click to start recording, your Chromebook will capture everything on your screen. After you’re done, click the Stop button to end the recording.
-
-
Access Your Screen Recording:
-
By default, the screen recording will be saved in your Downloads folder, just like screenshots.
-
Pro Tip: You can edit and trim your screen recordings using tools like WeVideo or Clipchamp, which are available on the Chrome Web Store.
Editing Your Screenshots on a Chromebook
Chromebooks provide basic editing tools to make your screenshots even more useful. For simple tasks, you can use Google Photos to crop, rotate, or add text to your screenshots.
For more advanced editing, consider installing third-party apps from the Chrome Web Store. Popular choices include Pixlr and Canva, which allow for more in-depth image editing and annotation.
Troubleshooting Screenshot Issues on a Chromebook
While taking screenshots is usually straightforward, there may be times when things don’t work as expected. Here are some common problems and how to fix them:
-
Screenshots aren’t saving: Check if your Chromebook has enough storage. If it’s full, delete unnecessary files or move them to Google Drive.
-
Keyboard shortcuts not working: Ensure your keyboard settings are correctly configured. If necessary, restart your Chromebook to reset the keyboard shortcuts.
-
No sound or visual indicator: If you’re not hearing the shutter sound or seeing the capture animation, make sure your volume is up and the capture settings are enabled in your Chromebook’s settings.
Tips and Tricks for Taking Better Screenshots on a Chromebook
Here are some tips to help you get the most out of your Chromebook screenshots:
-
Organize Your Screenshots: Create dedicated folders in the Files app to easily access your screenshots later.
-
Take Multiple Screenshots Quickly: You can press the shortcuts multiple times in quick succession to capture several screenshots without missing a beat.
-
Use the “Annotate” Feature: After taking a screenshot, use tools like Google Photos or Pixlr to add arrows, circles, or text to your images. This can be especially useful for tutorial or technical screenshots.
Conclusion
In this guide, we’ve shown you different ways to take screenshots on a Chromebook, from using keyboard shortcuts to stylus and Chrome apps. With these tips and fixes, you’ll be taking screenshots easily in no time!
Try out the different methods and find what works best for you. Whether you’re saving work-related information or just capturing something fun, knowing how to screenshot on a Chromebook is an essential skill for every user.
If you found this guide helpful, be sure to check out other Chromebook tips and tutorials on our website!
Related Articles / Resources
Got Questions? We’ve Got Answers!
1. How do I take a screenshot of just one window on my Chromebook?
To take a screenshot of just one window, press Ctrl + Alt + Show Windows. This will capture the currently active window on your screen.
2. Can I take a screenshot on a Chromebook without using the keyboard?
Yes, if you have a stylus-enabled Chromebook, you can take a screenshot by holding the stylus button and selecting the area you wish to capture.
3. How can I find my screenshots on a Chromebook?
By default, screenshots are saved to the Downloads folder. You can find them by opening the Files app and navigating to the Downloads section.


